
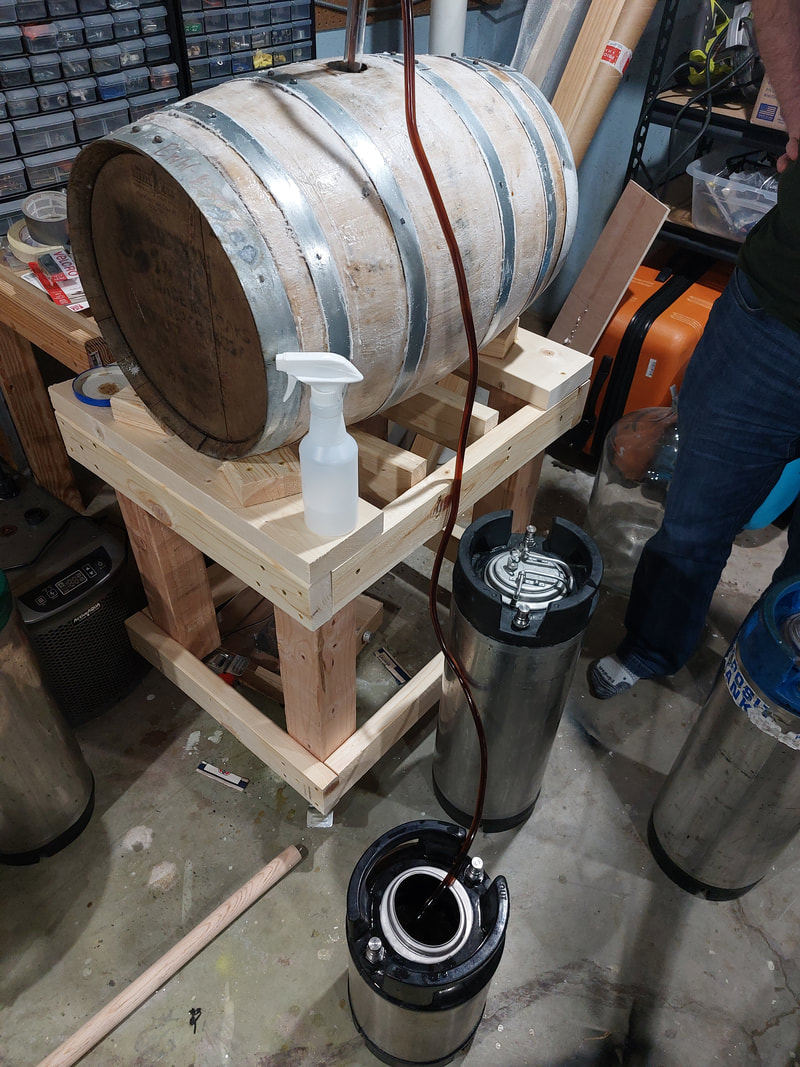
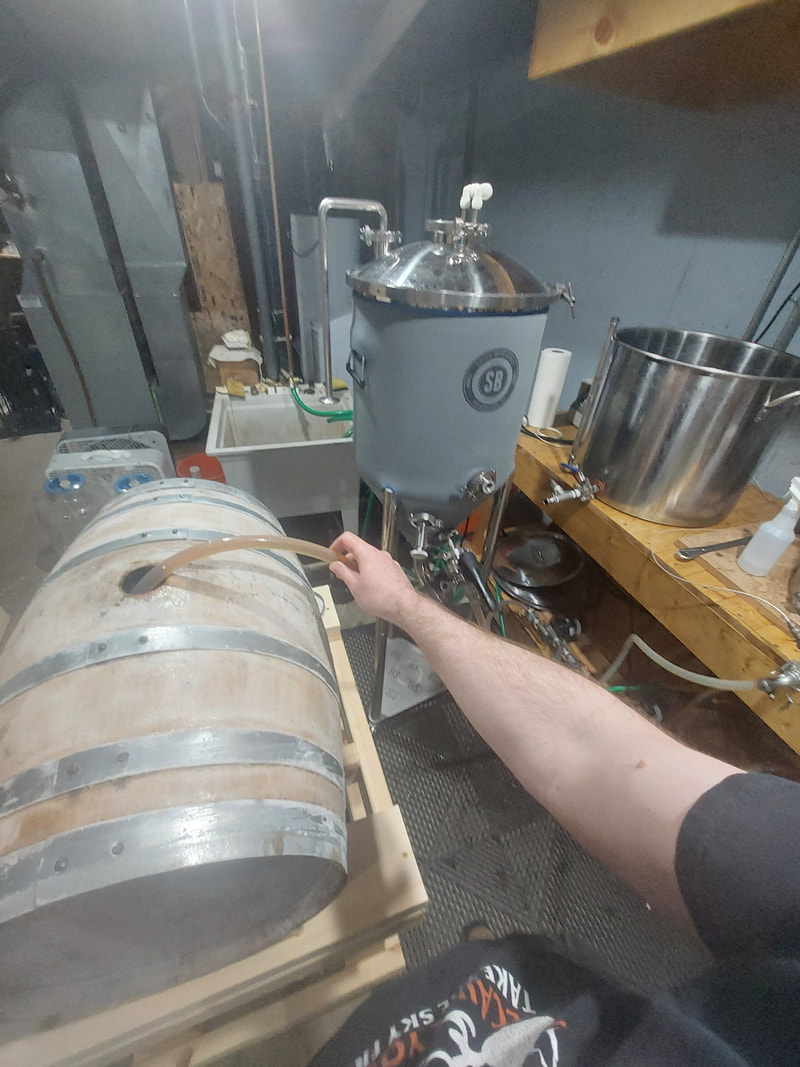
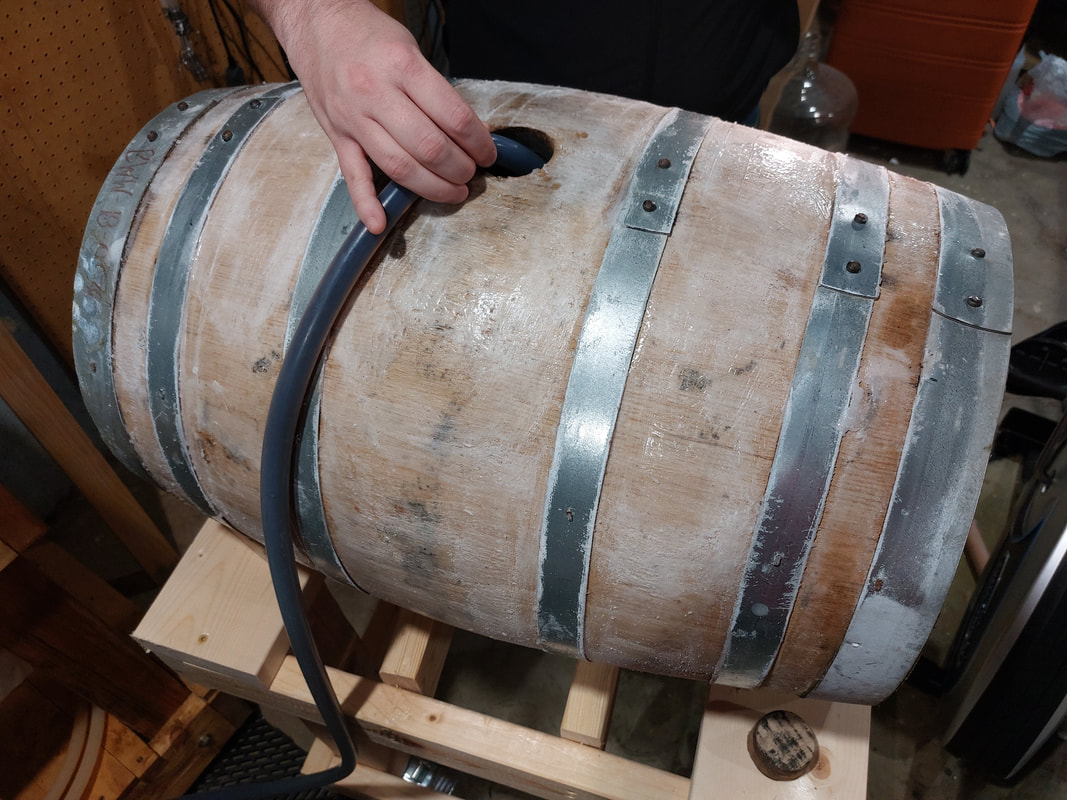
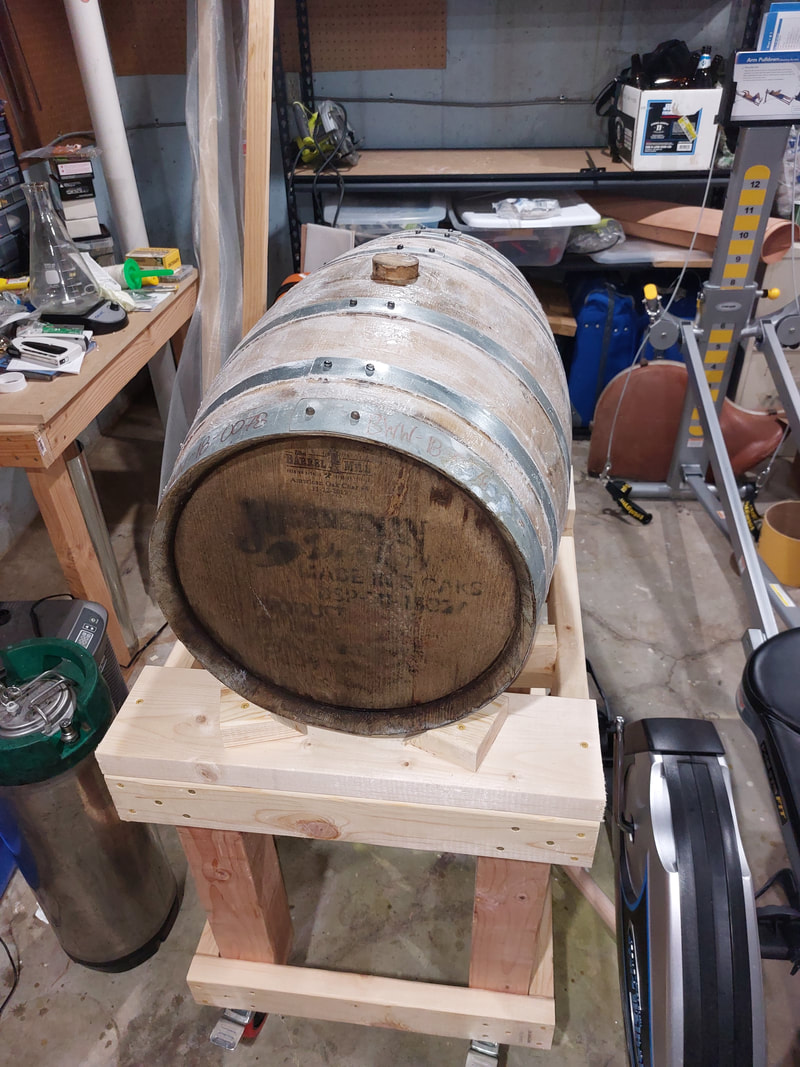
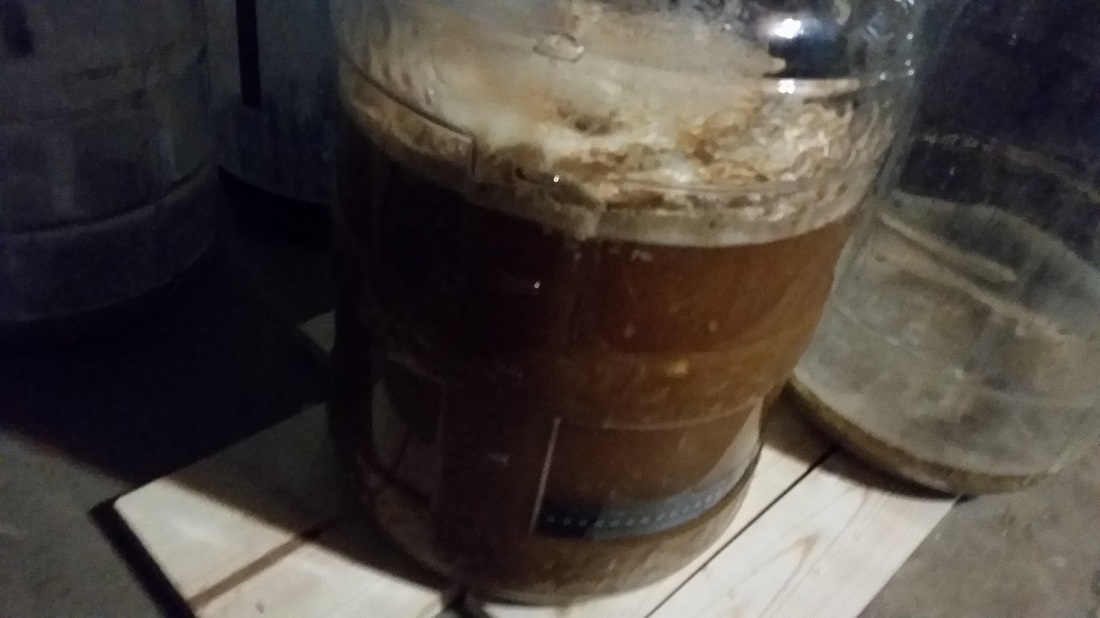
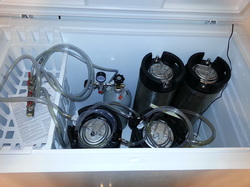
Well, just shy of three months here we are kegging up the Imperial Stout from the bourbon barrel. Kegging it was pretty simple, but I needed to bring out an autosiphon again. I don't remember the last time I used one.
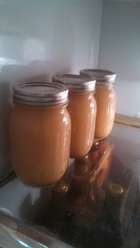
The initial tasting of the flat beer was very delicious. Almost like a light whiskey, very similar to the beer it was based on (Dragon's Milk). Viscosity was fantastic and coats the tongue well. I look forward to this one being carbed up.
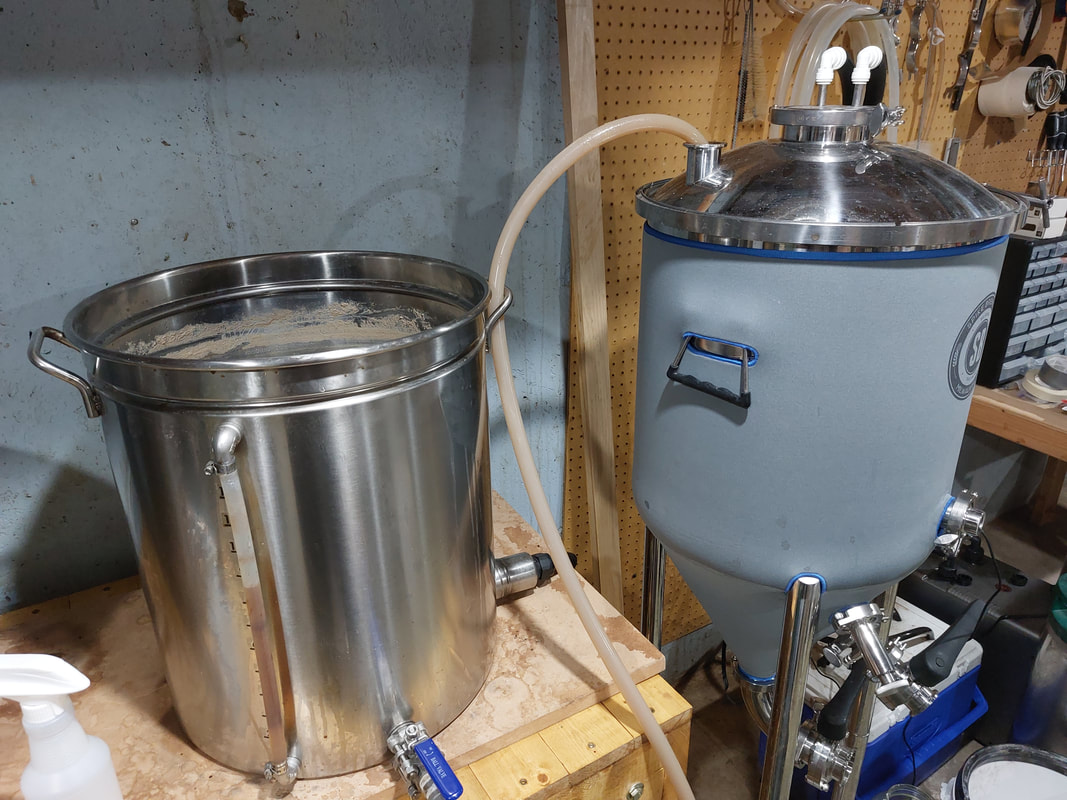
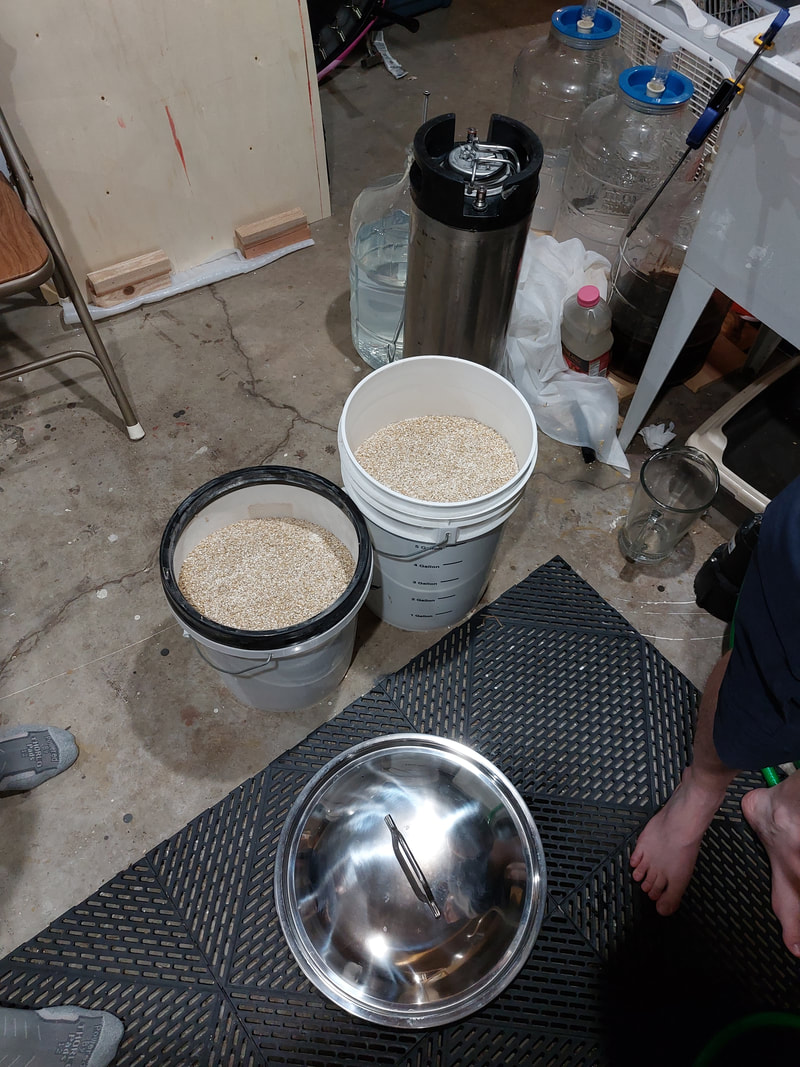
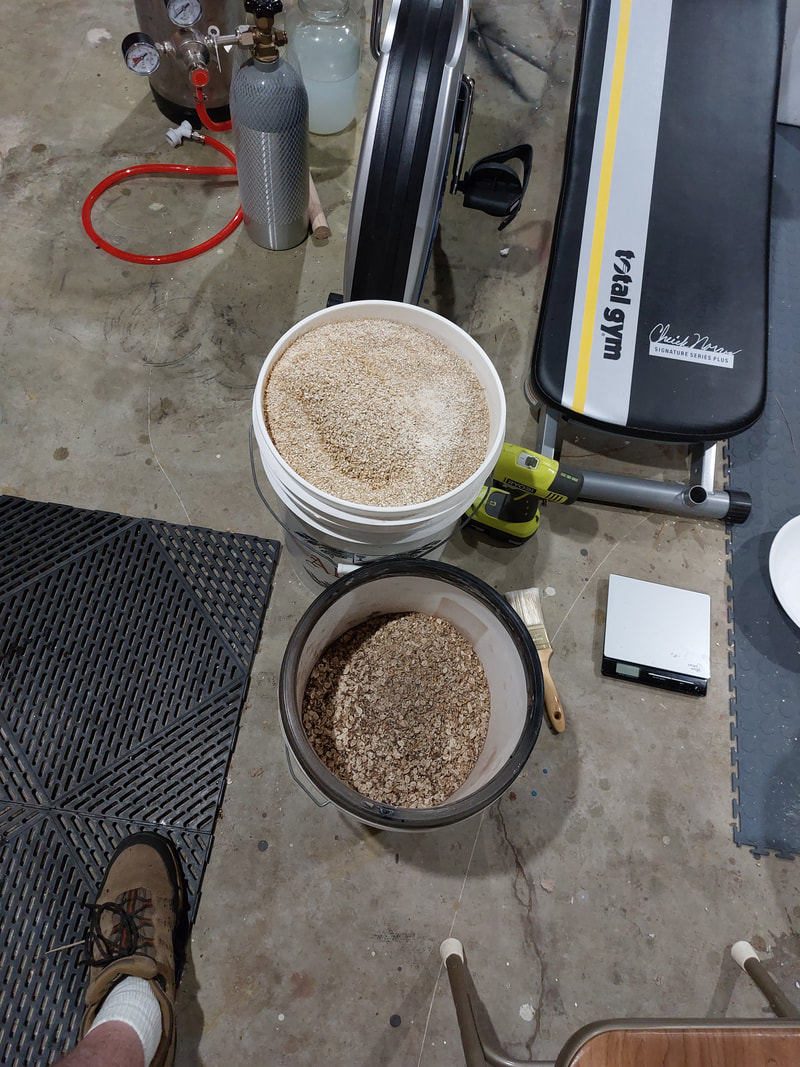
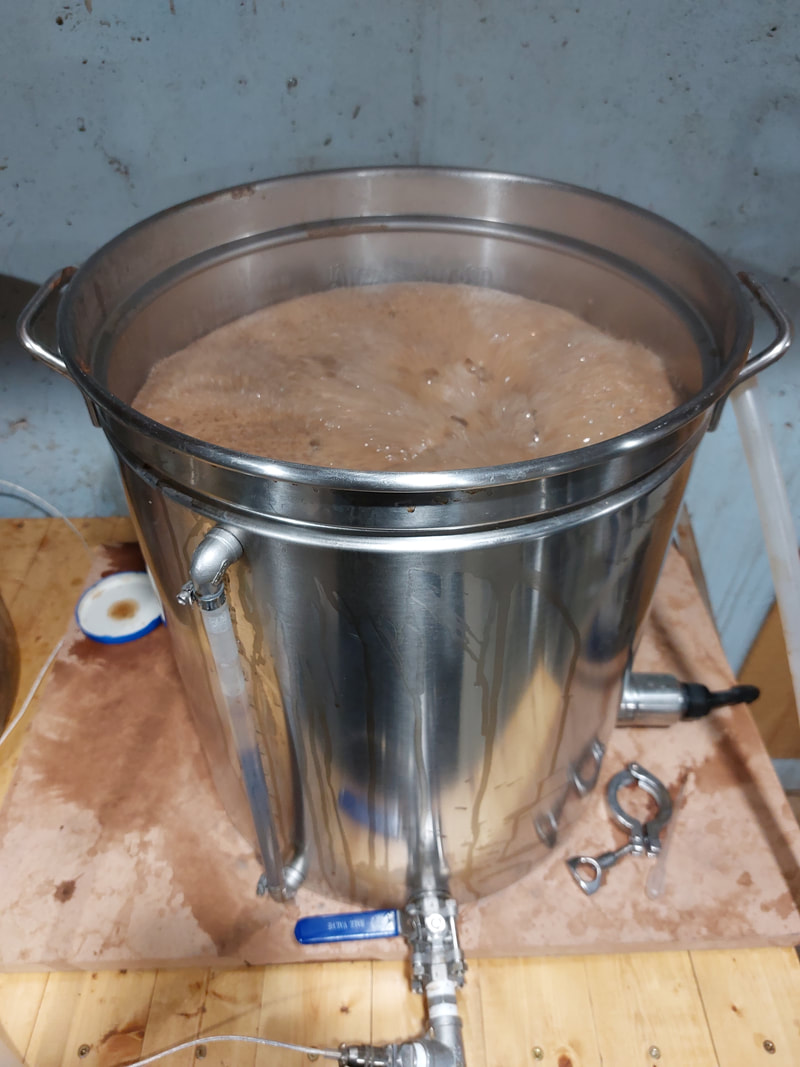
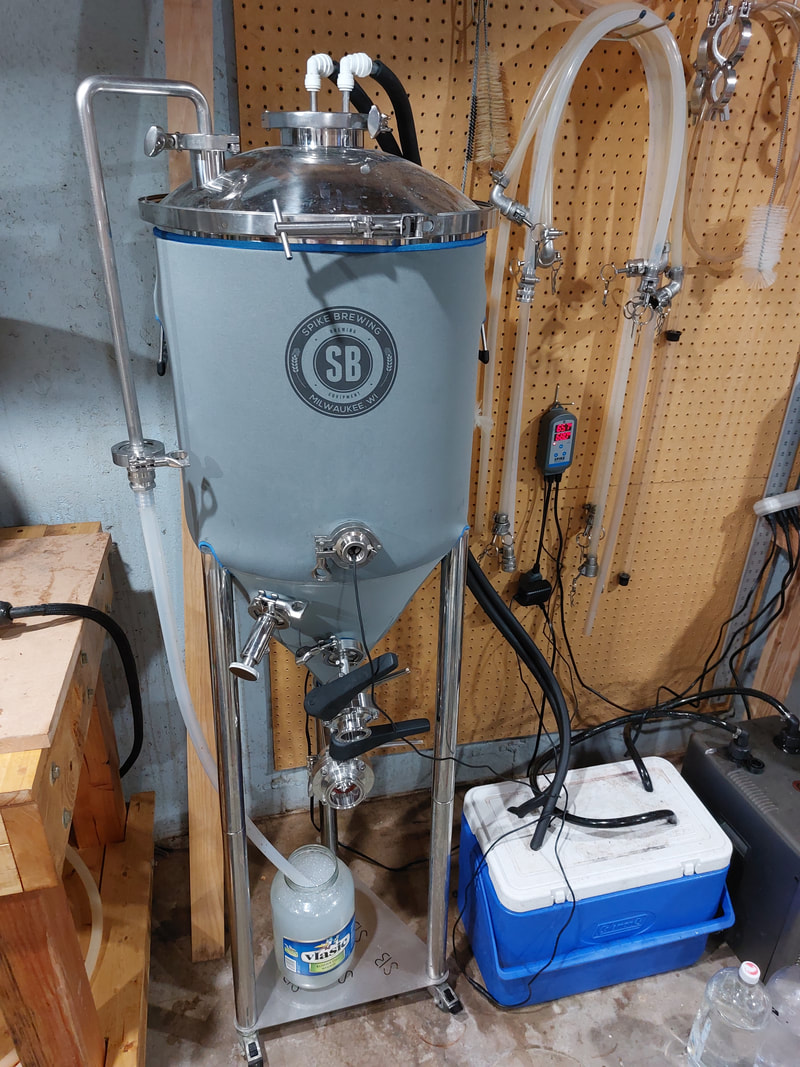
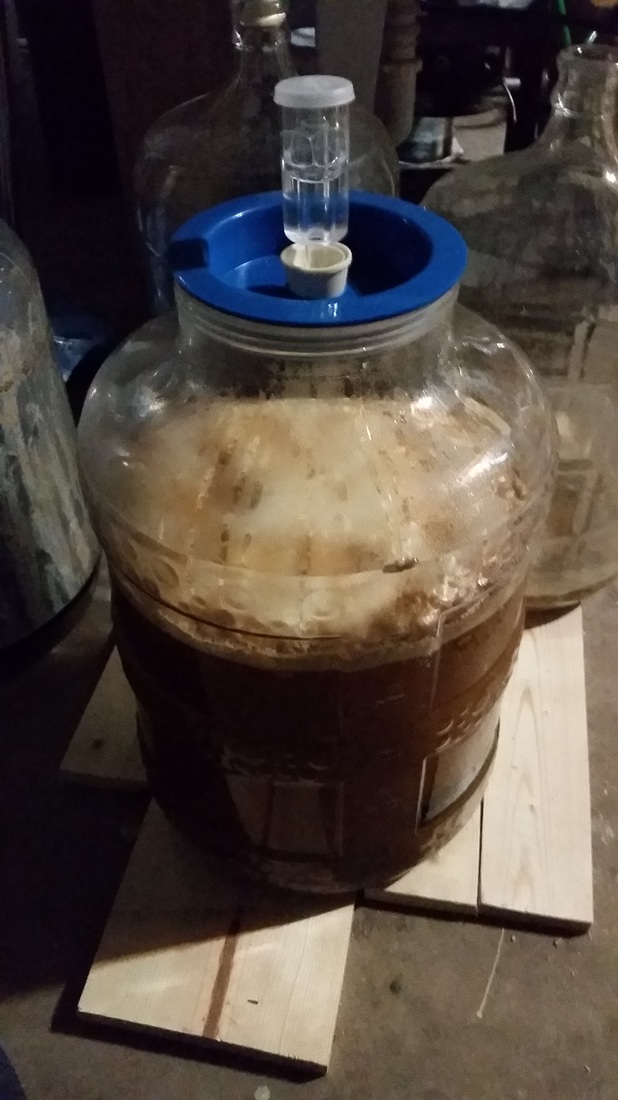
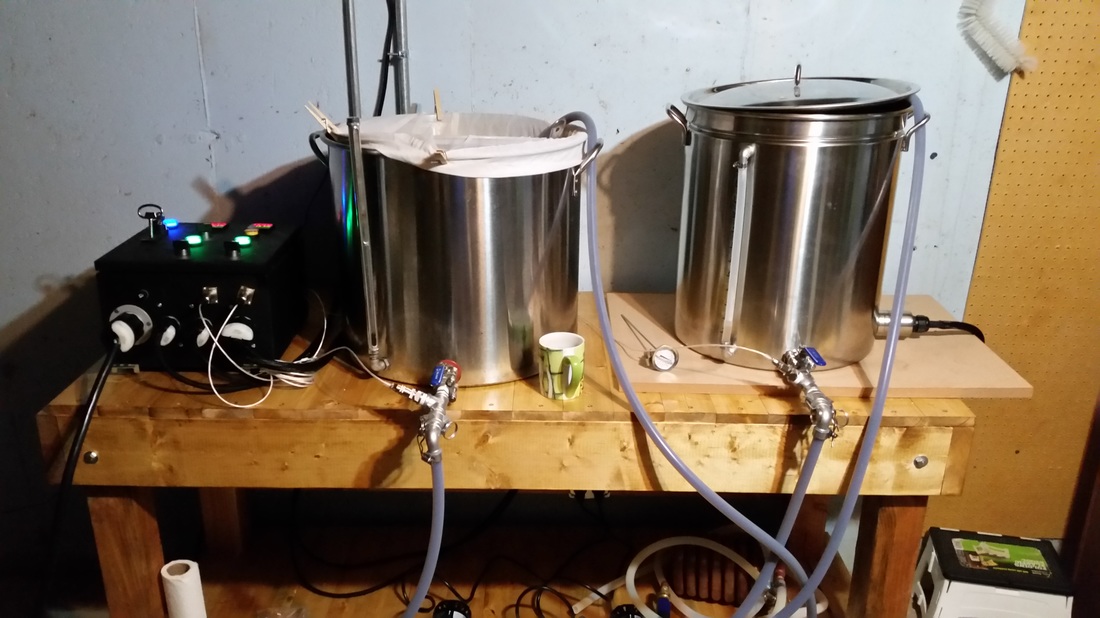
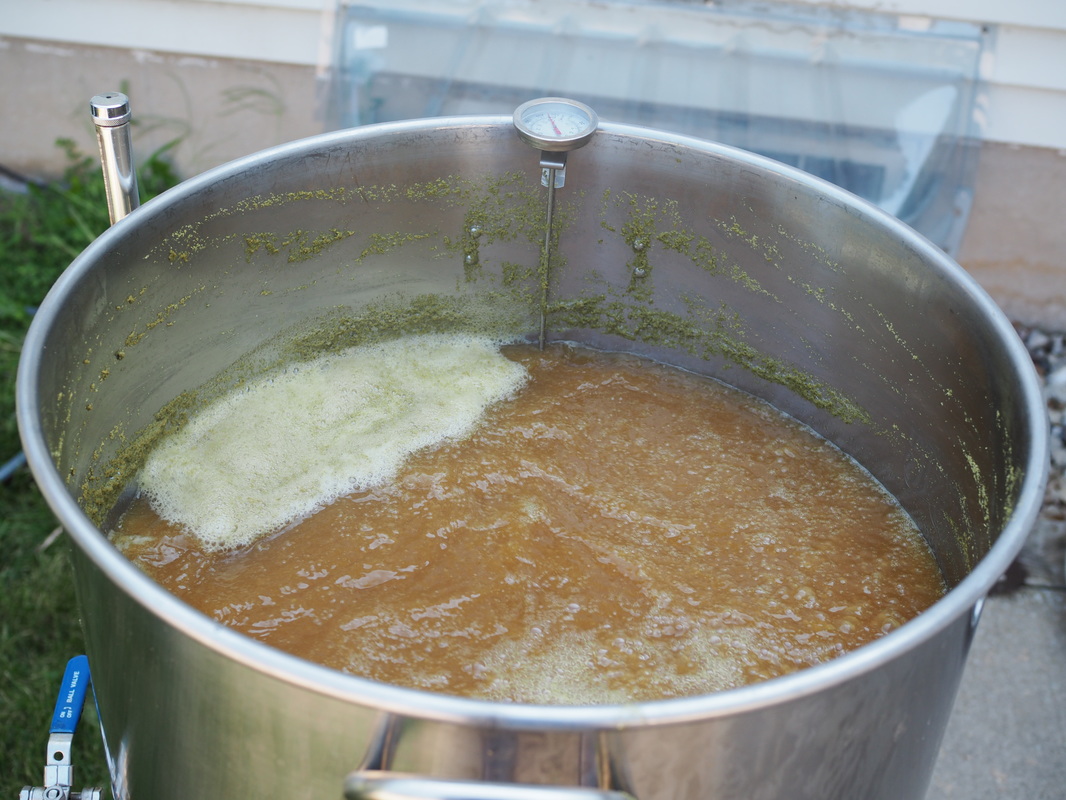
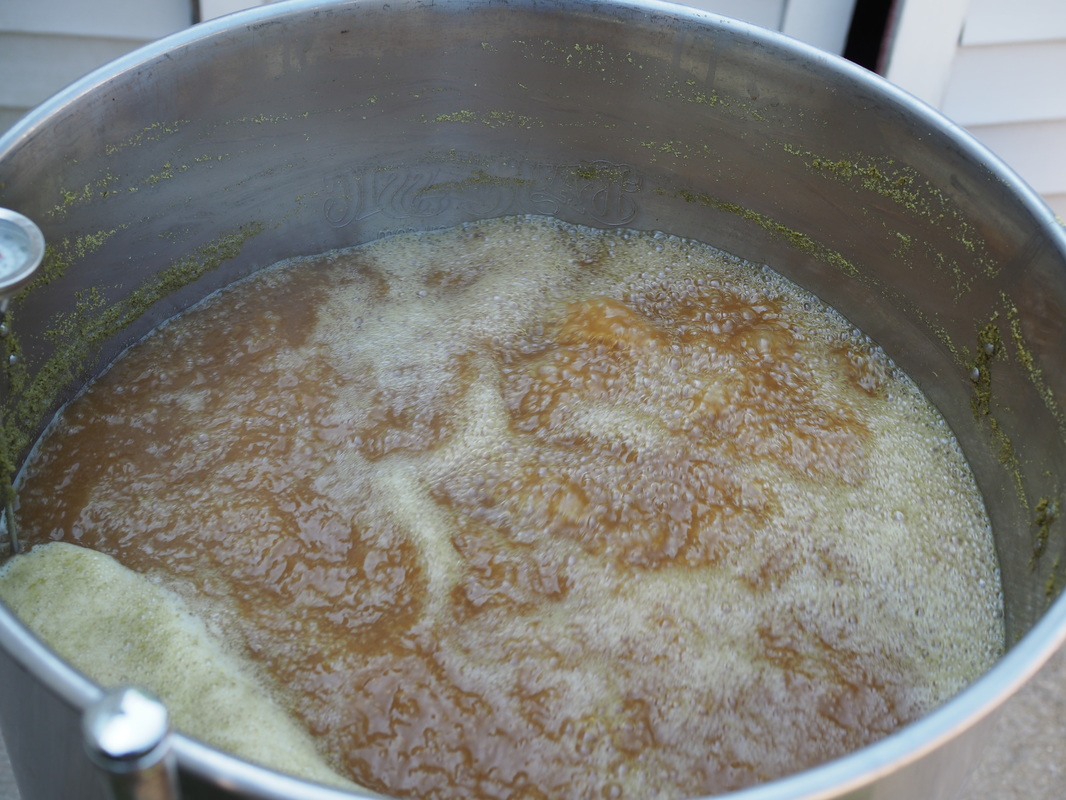
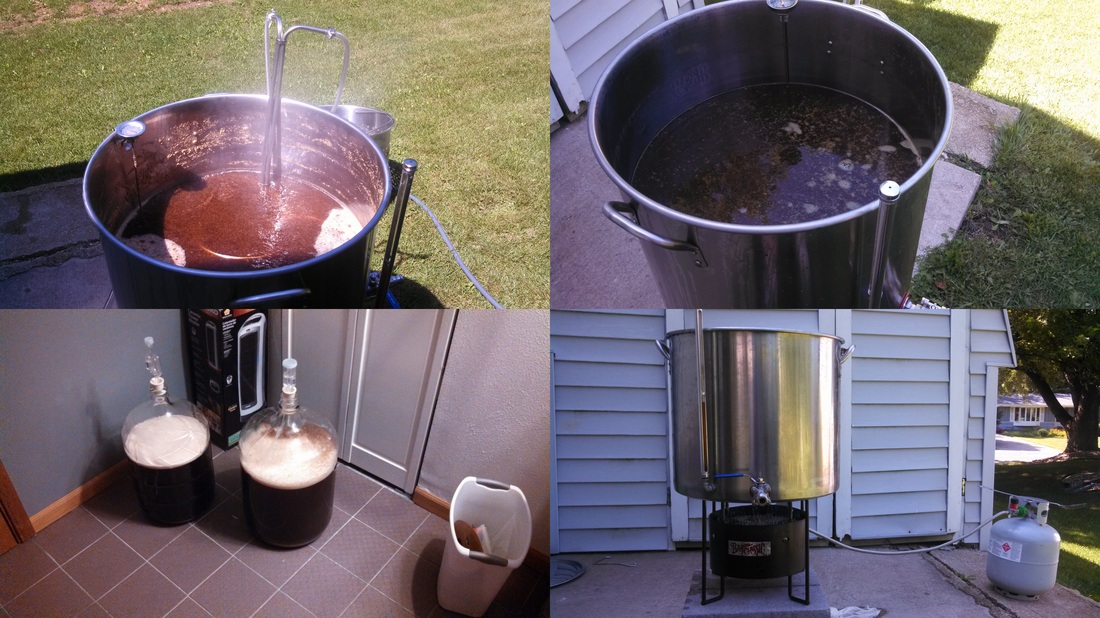
The second barrel beer is a cask type old ale that should do well in the barrel. The first 10 gallons are in the barrel and I racked the next 10 gallons into the fermenter and will top it off later this week.
Glad to have friends to brew with, as well as family and friends to share it with. Merry Christmas and a Happy New Year!

 RSS Feed
